Tutorials • Webuzo
Adding an MX record in the Webuzo admin panel
The Webuzo control panel allows us to set MX records to use an external email server (for example, Google).
Views 1470Updated 1 anPublished on 17/08/2017by Sebastian S.
Introduction
- In this tutorial, we will explain the necessary steps to add an MX record, which allows the use of emails through an external server. As an example, we will redirect the email server to Google.
- An MX (Mail Exchange) record specifies the email server responsible for accepting email messages for a domain and orders the prioritization of these servers.
Requirements
- The login details for the Webuzo panel, available in the administration email of the VPS.
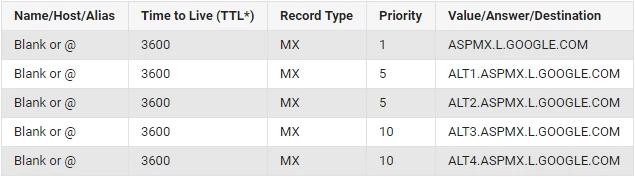
- List of MX records for the external server, in our case Google: MX Google Documentation .
Steps
1. Authentication in Webuzo
- Access the Webuzo control panel and log in using the credentials received.
- Navigate to the Email section and click on MX Entry.

2. Managing MX Registrations
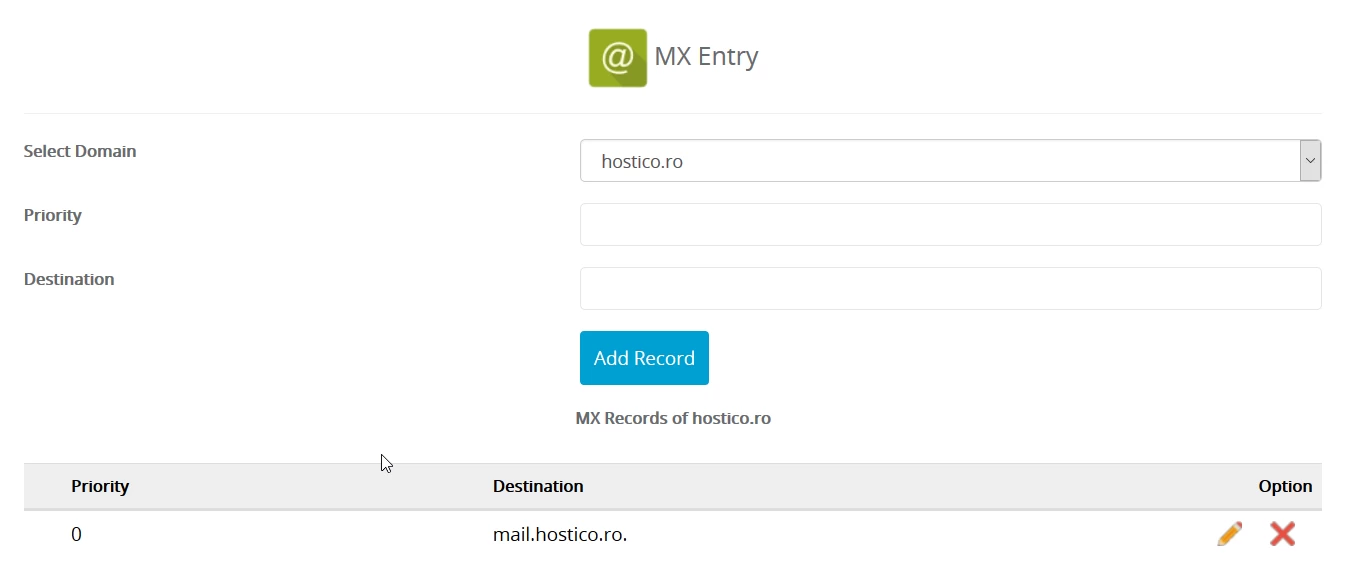
- In the open page, you will be able to view and manage the MX records. The main fields are:
- Select Domain: The domain for which we want to redirect the email server.
- Priority: The priority of the email server (0 for highest priority, 10 for lowest priority).
- Destination: The address of the external email server (for example, ASPMX.L.GOOGLE.COM).
3. Deleting default MX records
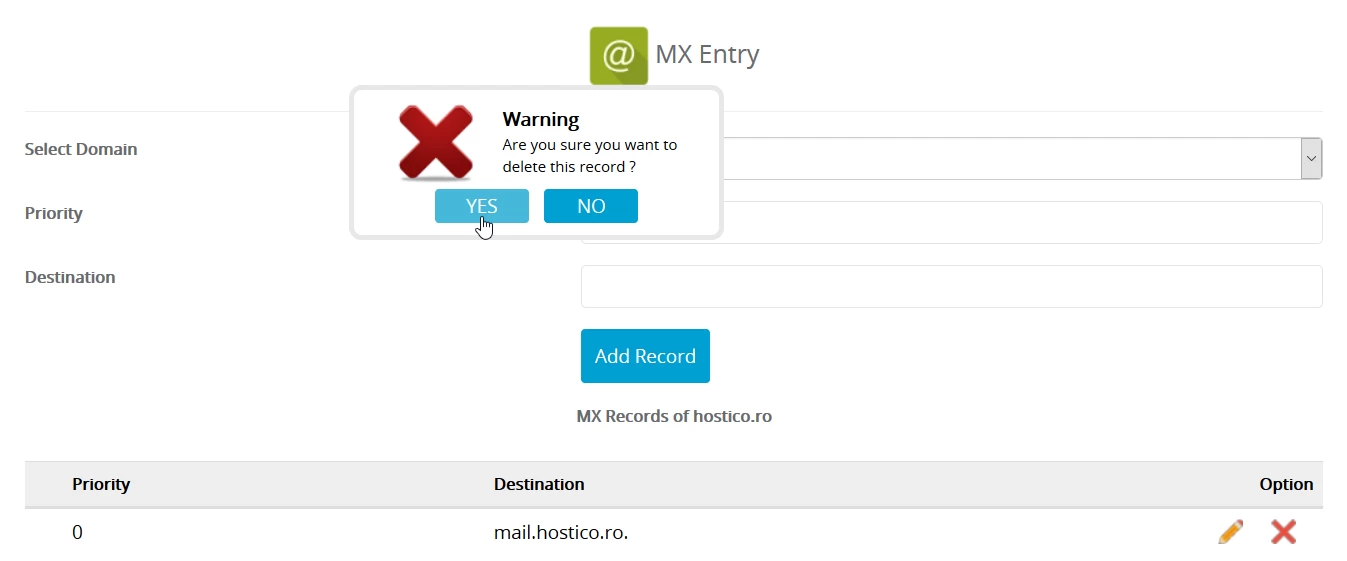
- Delete the existing MX records by clicking on the symbol
 .
.
4. Adding Google MX Records
- Select the desired domain in the Select Domain field.
- Enter the priority specified by Google in the Priority field.
- Enter the external server address (for example, ASPMX.L.GOOGLE.COM) in the Destination field.
- Click on Add Record to add the record.
- Repeat this process for all five Google MX records listed below:

5. Checking and editing records
- After adding all the records, the list should look similar to the image below. The records can be edited by clicking on the symbol
 .
.
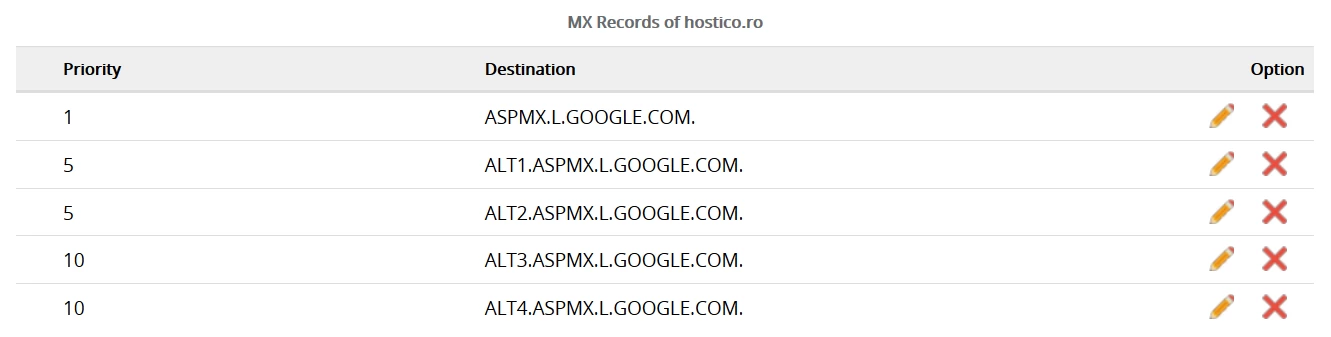
6. Propagation and other examples
- The propagation of MX records may take a few hours. Once completed, emails will be directed according to the new settings.
- The same method can be used for any email service provider. You will need the server addresses and their priorities.
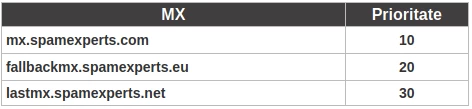
- For example, for the Spam Experts services, the MX settings are as follows: